
UPLOAD DIRECTLY TO THE CCS ADMIN PAGE
- Click on On Demand in the main menu to expand the menu options.
- Click on Library to upload, view, create folders, and organize your files.
- To upload a file from your local computer, select Add Video at the top of the Library and select your desired video.
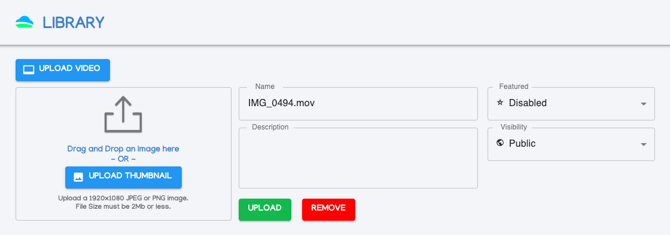
- Edit the title and description, choose the featured status, visibility, and premiere status of the content and click Upload. A progress bar will appear to track your upload, and the file will appear in the directory you were in when choosing to upload.

Create a Folder & Move Files
- Choose the Create a Folder button to the left of the “Search Library” bar.

- A new folder titled New Folder will appear in your list. Click the pen icon on the right to rename. Choose the trash icon to delete the folder.
- Click and Drag - The first method of moving folders or files is to click and drag your file or folder to another location and release your mouse to get prompted to move the item. TIP: If you’re having trouble, make sure you click the file or folder first before clicking and dragging to the new location.
- Move - Select the item(s) you want to move and use Command/Control + C on your keyboard to copy and Command/Control + V on your keyboard to paste into the directory of your choice. TIP: Copy and Paste will move your item and not create an additional copy.
- Move Multiple Files - Either of the above processes will work with a single file or multiple files. To select multiple, first select one with your mouse and then hold Control (PC) or Command (Mac) on your keyboard and select the other file(s) you want to move. Then use the method of your choosing above to move a batch of files & folders.
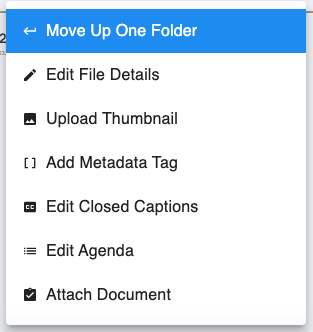
- Right Click File - To move a file back a directory, right click the file and choose Move Up One Folder.
SEND TO VOD FROM QUICKROLL, QUICKCAST, OR MINI
Setting up Send to Video On Demand (only need to do this once)
- Log in to your QuickRoll or QuickCast unit.
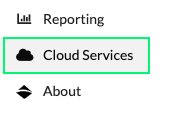
- Click on the CASTUS Menu in the top left, and choose Cloud Services. *NOTE: If you do not see this option, make sure the user you’re logged into has permission to access this setting in the User List and that you’re running a recent version of the software.
- Click on Setup Cloud Configuration and enter your email address and then password for your CASTUS Cloud Portal account.
- Your QuickRoll or QuickCast is now connected to your cloud portal and you can send videos straight to your VOD.
Sending Content to Video On Demand
- Navigate to a video you want to send to VOD in your Library.
- To the far left of the video title, click on the action drop down next to the green play icon to open the menu. Scroll to the bottom of that menu and select Send To Video On Demand.
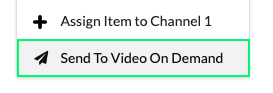

- To send multiple files at once, select them by clicking the checkbox before selecting the dropdown of one and choosing Send to Video On Demand.
- The upload/file transfer screen will open and the progress of the transcode will be visible in this space.
- Navigate to your CASTUS Cloud Portal Library and the file will appear with
 when it is uploading,
  when it is transcoding, and
  when it is finished and ready to play.
NOTE: The title metadata tag for your file on your QuickRoll or QuickCast will become the title of your cloud video. If there is no title tag, the file name will become the title. The remaining metadata will be used as search terms both on the public page and back end of your cloud portal.